DIY Wedding Bell Ghosts
October 21, 2016

|
Is this not the cutest idea you have seen in years?! I used to make ghosts out of white grocery store bags and a magic marker but I am going to have to start doing this now!
These ghosts take almost no time to make and have a super simple design that will have all your guests thinking you're Walt Disney himself with a flare for creative cartoon(ish) characters.
|
What You’ll Need
Instructions
- Separate your bells. This simply means untying or cutting the strings that keep the bell cluster together.

- Assemble your bells. Our bells come with twist tie closures or plastic clips. If you want to make it extra secure, paper clips work great for keeping these bells together. Squeeze the tie tightly around the opening of the bell.
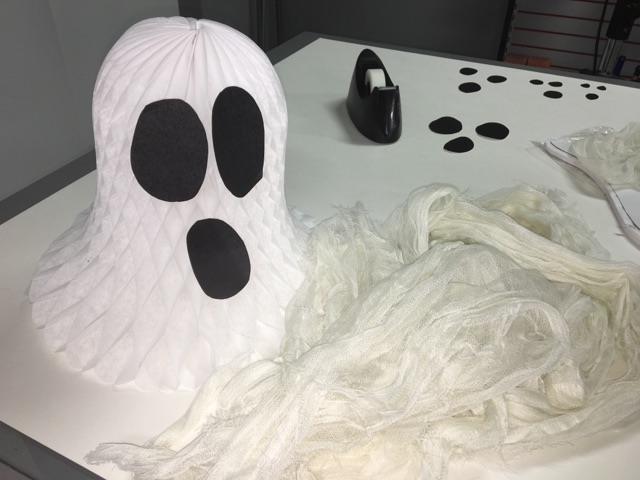
- Cut out three ovals for each bell to represent the eyes and mouth of each ghost. Size is completely up to you!
- Using your glue or tape, secure the face pieces to your bell. We used tape by putting one end of the tape in the honeycomb and attaching the face piece to the other end.
 
Alternately you can make a tape ring and fasten the face pieces directly to the outside of the bell.
- Next experiment with your fabric. Drape it over your ghost at various angles till you find one that you like. PartyCheap’s spooky cloth comes with precut holes to add extra interest to your ghosts.
- Cut a length of fabric to drape over the top of your ghost and glue to the top of the bell. Don’t worry about cutting in straight lines! Erratic cuts give each ghost its own look and personality.

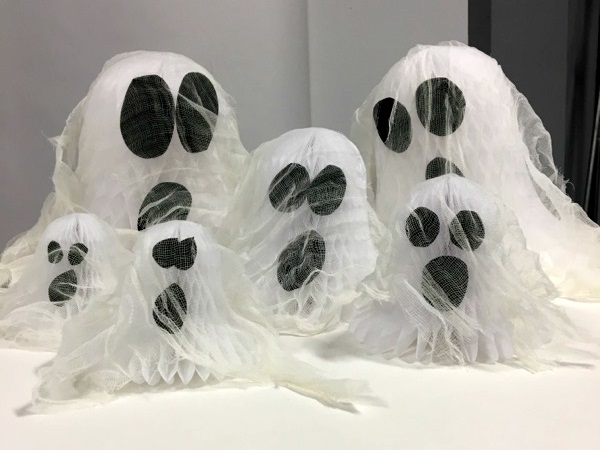
- Repeat these steps as many times as you want on various sized bells to make an entire family of ghosts.

If you're feeling extra creative (or if you want to use up some other craft supplies) give your ghosts some personality.  Make a ribbon bow tie or pipe cleaner glasses. Change up the mouth shapes so that each ghost appears to be making a different sound. Make a ribbon bow tie or pipe cleaner glasses. Change up the mouth shapes so that each ghost appears to be making a different sound.
Shop products used in this DIY
|
|